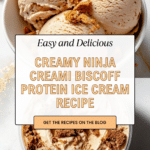
Ninja Creami Biscoff Cookie Butter Protein Ice Cream Recipe
Introduction
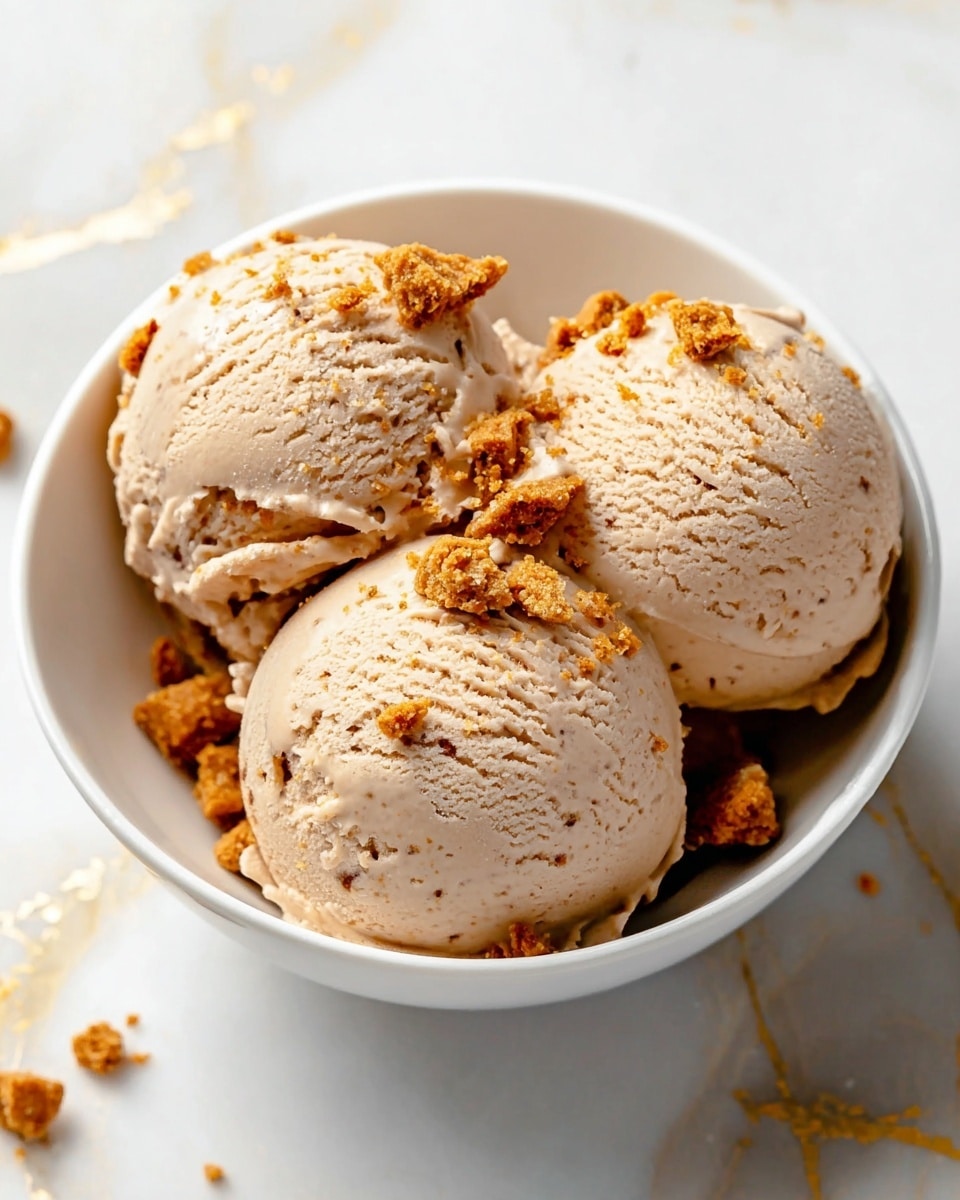
This Ninja Creami Biscoff Cookie Butter Protein Ice Cream is a creamy, delicious way to enjoy a protein-packed treat. It combines the warm caramel flavor of Biscoff cookie butter with vanilla protein for a satisfying dessert that’s both indulgent and nutritious.
Ingredients
- 1 ½ cups unsweetened vanilla almond milk
- 1 scoop (about 30g) vanilla protein powder
- 2 tablespoons Biscoff cookie butter (plus 1 extra tablespoon for swirl)
- 1 tablespoon sugar-free vanilla pudding mix (dry powder)
- 1–2 tablespoons granulated sweetener (like monk fruit or sugar), to taste
- 1 pinch salt
Instructions
- Step 1: Add 1 ½ cups almond milk, vanilla protein powder, 2 tablespoons Biscoff cookie butter, vanilla pudding mix, granulated sweetener, and salt to a blender. Blend until the mixture is completely smooth and creamy with no visible powder.
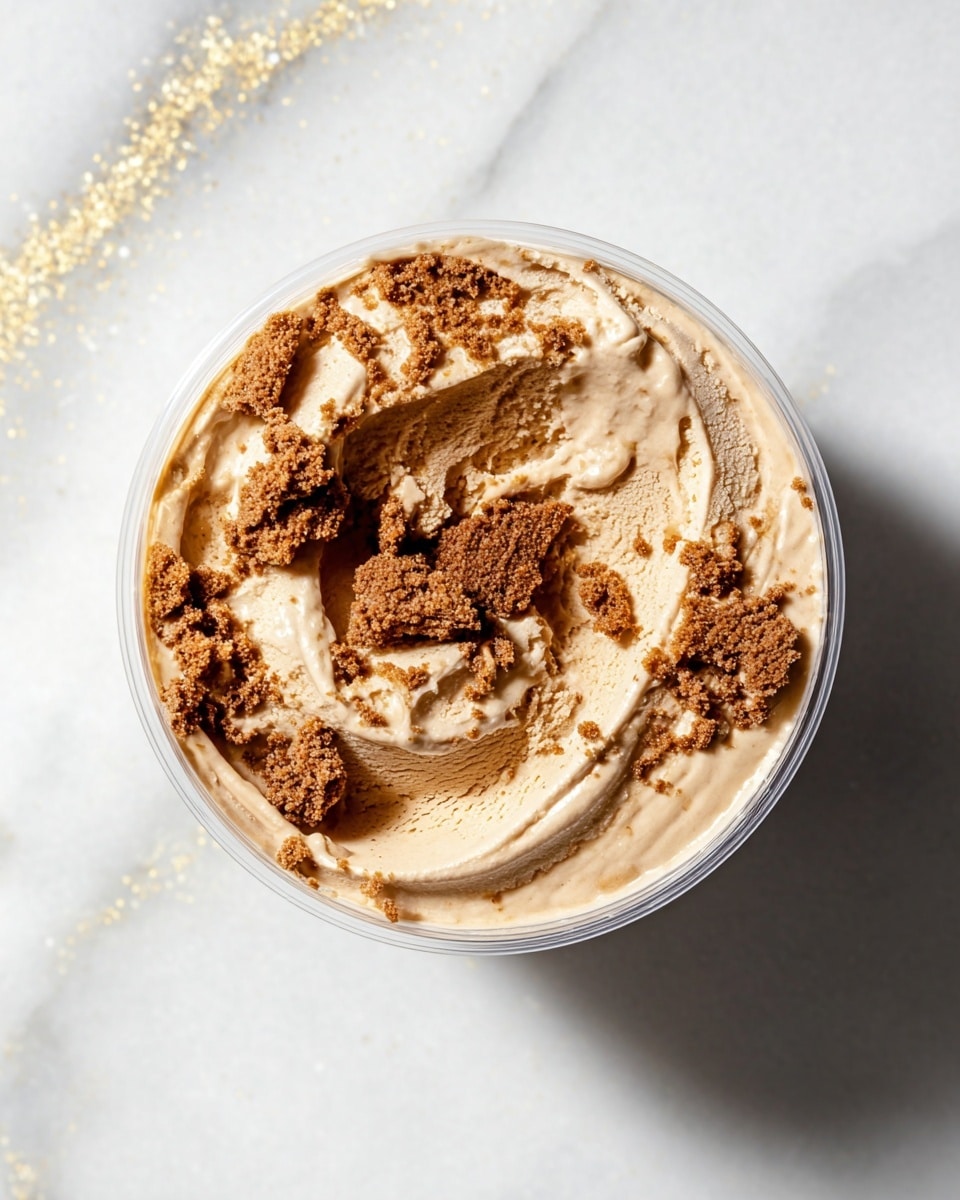
- Step 2: Pour the blended mixture into the Ninja Creami pint container. Secure the lid and freeze on a flat surface for 24 hours until solid.
- Step 3: Remove the lid and place the frozen base into the Ninja Creami machine. Lock it in place and select the “Lite Ice Cream” setting. Spin once; the texture should be crumbly but creamy.
- Step 4: If the texture is powdery or dry, add 1 tablespoon almond milk to the center and use the “Re-Spin” function until smooth and creamy.
- Step 5: Create a small hole in the center of the ice cream with a spoon. Add 1 tablespoon melted Biscoff cookie butter and use the “Mix-In” setting to swirl it through.
- Step 6: Scoop 3 generous portions into a bowl. Optionally, sprinkle with crushed Biscoff cookies and serve immediately.
Tips & Variations
- For a richer flavor, toast some crushed Biscoff cookies and sprinkle on top before serving.
- Swap vanilla protein powder for your favorite flavor to customize the taste.
- If you don’t have monk fruit sweetener, use stevia or a small amount of honey instead.
Storage
Keep your Biscoff protein ice cream in the Ninja Creami pint container in the freezer. For best flavor and texture, consume within 1 week. To soften before serving, let it sit at room temperature for a few minutes or use the Ninja Creami’s “Re-Spin” function.
How to Serve
Serve this delicious recipe with your favorite sides.
FAQs
Can I make this recipe without a Ninja Creami machine?
This recipe is designed specifically for the Ninja Creami to achieve a smooth, creamy texture. Without it, the texture may be icy. You can try churn-freezing or stirring every 30 minutes, but results will vary.
What is the best protein powder to use?
Vanilla-flavored protein powder works best to complement the Biscoff flavor. Choose a powder that you like, whether whey, plant-based, or collagen, as long as it blends smoothly.
PrintNinja Creami Biscoff Cookie Butter Protein Ice Cream Recipe

This Ninja Creami Biscoff Cookie Butter Protein Ice Cream is a creamy, protein-packed frozen treat made with vanilla protein powder and luscious Biscoff cookie butter. Using the Ninja Creami machine, this recipe blends a smooth base, freezes it, and transforms it into deliciously light ice cream with a decadent cookie butter swirl, ideal for a healthy dessert or post-workout snack.
- Prep Time: 10 minutes
- Cook Time: 24 hours freezing + 10 minutes processing
- Total Time: 24 hours 20 minutes
- Yield: 4 servings 1x
- Category: Dessert
- Method: Blending
- Cuisine: American
- Diet: Low Fat
Ingredients
Base Ingredients
- 1 ½ cups unsweetened vanilla almond milk
- 1 scoop (about 30g) vanilla protein powder
- 2 tablespoons Biscoff cookie butter
- 1 tablespoon sugar-free vanilla pudding mix (dry powder)
- 1–2 tablespoons granulated sweetener (like monk fruit or sugar), to taste
- 1 pinch salt
Swirl
- 1 extra tablespoon Biscoff cookie butter, melted
- Optional: extra crushed Biscoff cookies for topping
Instructions
- Blend the Base: Add 1 ½ cups unsweetened vanilla almond milk, 1 scoop of vanilla protein powder, 2 tablespoons Biscoff cookie butter, 1 tablespoon dry sugar-free vanilla pudding mix, 1–2 tablespoons granulated sweetener, and a pinch of salt into a blender. Blend until the mixture is completely smooth and creamy, ensuring no visible powder remains.
- Freeze the Mixture: Pour the smooth light tan mixture into the Ninja Creami pint container. Secure the lid tightly and place it on a flat surface in the freezer. Freeze for 24 hours until the mixture is completely solid.
- Spin the Ice Cream: After freezing, remove the lid and insert the frozen pint into the Ninja Creami machine. Lock it in place and select the “Lite Ice Cream” setting to spin once. The resulting texture should be crumbly yet creamy.
- Re-Spin if Needed: If the ice cream texture appears powdery or dry, add 1 tablespoon of almond milk to the center of the pint. Use the “Re-Spin” function on the Ninja Creami until the ice cream becomes smooth and creamy.
- Add the Cookie Butter Swirl: Using a spoon, create a small hole in the center of the creamy ice cream. Pour 1 tablespoon of melted Biscoff cookie butter into the hole. Select the “Mix-In” setting on the machine to gently swirl the cookie butter through the ice cream.
- Serve: Scoop three generous servings of the ice cream into bowls. Optionally, sprinkle extra crushed Biscoff cookies on top for added texture and flavor. Serve immediately for the best taste and texture.
Notes
- Make sure to freeze the mixture fully for 24 hours before spinning for optimal texture.
- If you do not have a Ninja Creami, this recipe may not produce the same texture using other ice cream machines.
- Adjust the amount of sweetener according to taste or dietary needs.
- Use a high-quality vanilla protein powder for best flavor and creaminess.
- For a vegan version, ensure the protein powder and pudding mix are vegan-friendly.
- Leftover ice cream can be stored in the freezer but may require a short thaw before serving to soften.
Keywords: Biscoff, Cookie Butter, Protein Ice Cream, Ninja Creami, Frozen Dessert, Low Sugar, Healthy Ice Cream
