Jiffy Corn Casserole Recipe
Introduction
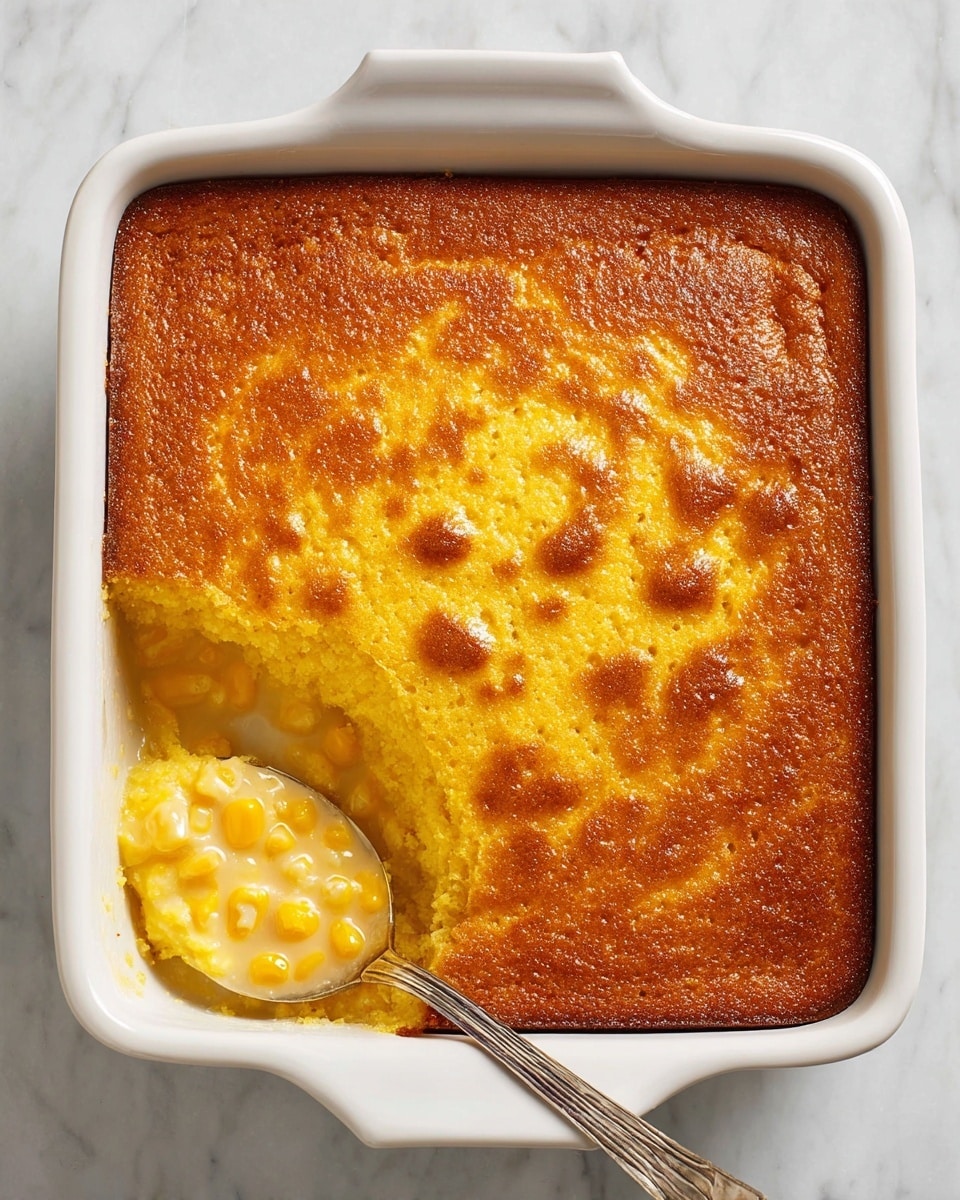
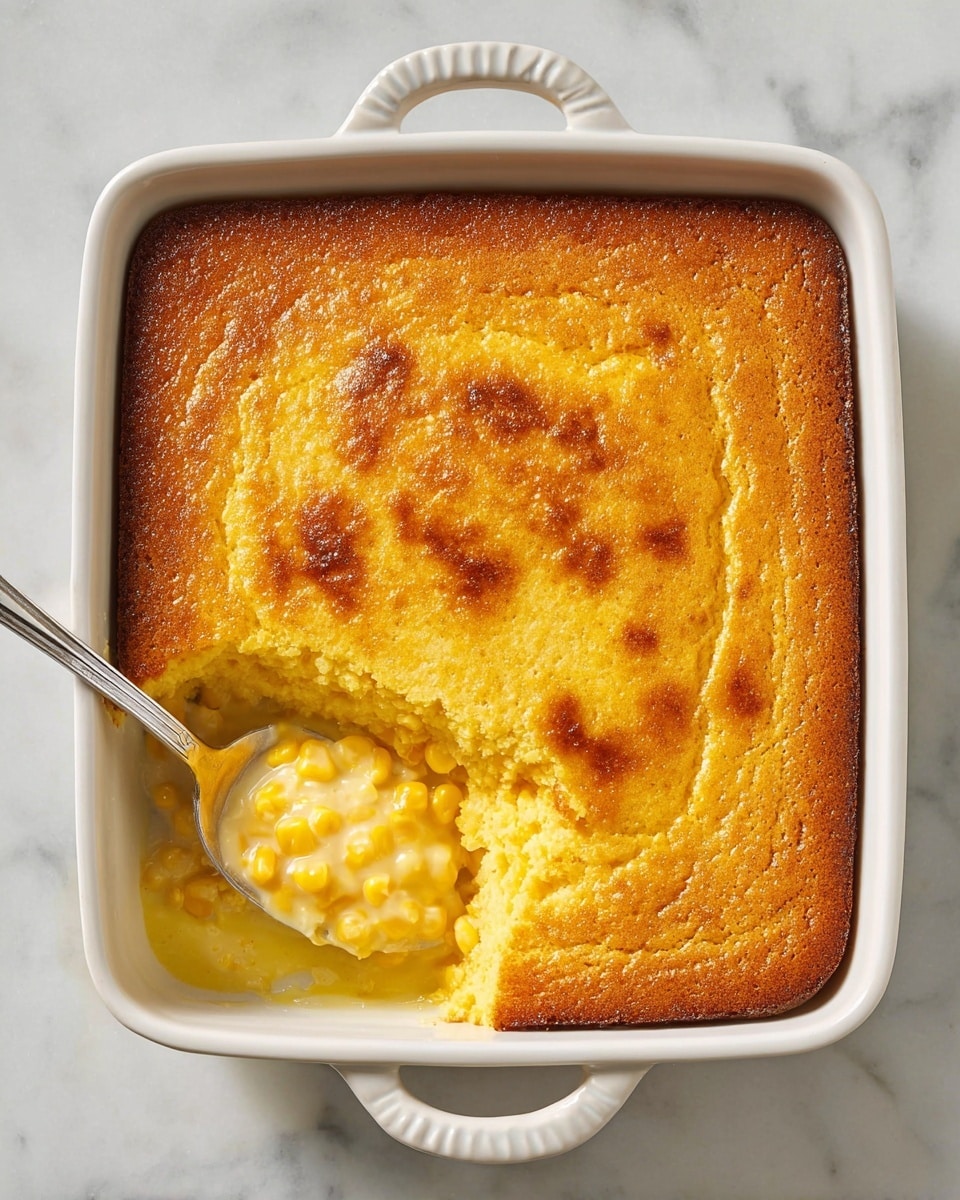
Jiffy Corn Casserole is a comforting, quick, and foolproof dish perfect for family dinners or holiday gatherings. With a texture that’s half cornbread and half pudding, this casserole is made from pantry staples and comes together in one bowl for easy preparation.
Ingredients
- 1 (8.5 oz) box Jiffy Corn Muffin Mix
- 1 (15 oz) can whole kernel corn, drained
- 1 (15 oz) can creamed corn
- 1 cup sour cream
- ½ cup (1 stick) unsalted butter, melted
- 2 large eggs
Instructions
- Step 1: Melt ½ cup unsalted butter until smooth and liquid, then let it cool slightly to prevent cooking the eggs later.
- Step 2: In a large mixing bowl, whisk together 1 cup sour cream, 2 large eggs, and the cooled melted butter until smooth and creamy.
- Step 3: Stir in 1 can (15 oz) of drained whole kernel corn and 1 can (15 oz) of creamed corn until evenly mixed.
- Step 4: Sprinkle in 1 box (8.5 oz) of Jiffy Corn Muffin Mix and gently stir until just combined—avoid overmixing for the best texture.
- Step 5: Pour the batter into a greased 8×8-inch baking dish and spread evenly. Bake at 350°F for 40–45 minutes, until golden brown and set in the center.
- Step 6: Let the casserole rest for 5 minutes before serving to allow it to thicken. Scoop out warm, creamy servings and enjoy.
Tips & Variations
- Don’t overmix the batter to ensure a tender texture.
- Let the casserole rest for 5 minutes after baking to thicken.
- Add shredded cheese or diced jalapeños for extra flavor.
- Bake uncovered for the last 5 minutes to achieve a golden top.
- Double the recipe for larger gatherings—it scales well.
- Use Greek yogurt instead of sour cream for added protein.
- Stir in diced green chiles for a mild spicy kick.
- Use salted butter if needed but reduce added salt in other dishes accordingly.
Storage
Store leftover casserole in an airtight container in the refrigerator for up to 3 days. Reheat portions in the microwave until warm, or bake covered at 350°F for 15–20 minutes until heated through.
How to Serve
Serve this delicious recipe with your favorite sides.
FAQs
Can I prepare the casserole ahead of time?
Yes, you can mix all the ingredients the day before and refrigerate the batter covered. Bake it fresh before serving, adding about 5 extra minutes to the baking time.
Can I make this recipe dairy-free?
To make a dairy-free version, substitute the butter with a plant-based alternative and use dairy-free sour cream or yogurt. The texture may vary slightly but it will still be delicious.
PrintJiffy Corn Casserole Recipe

Jiffy Corn Casserole is a nostalgic, comforting dish that combines the texture of cornbread and pudding for a creamy, cozy side perfect for family dinners and holiday gatherings. Made with simple pantry staples and featuring a foolproof mix-and-bake method, this recipe delivers a moist, tender casserole with sweet corn flavor and a lightly crisp golden top.
- Prep Time: 10 minutes
- Cook Time: 45 minutes
- Total Time: 55 minutes
- Yield: 8 servings 1x
- Category: Side Dish
- Method: Baking
- Cuisine: American
Ingredients
Dry Ingredients
- 1 (8.5 oz) box Jiffy Corn Muffin Mix
Wet Ingredients
- ½ cup (1 stick) unsalted butter, melted
- 1 cup sour cream
- 2 large eggs
Corn
- 1 (15 oz) can whole kernel corn, drained
- 1 (15 oz) can creamed corn
Instructions
- Melt the Butter: Melt ½ cup of unsalted butter until smooth and liquid, then allow it to cool slightly so it won’t cook the eggs when mixed.
- Combine Wet Ingredients: In a large mixing bowl, whisk together 1 cup sour cream, 2 large eggs, and the cooled melted butter until the mixture is smooth and creamy.
- Add the Corn: Stir in the drained whole kernel corn and creamed corn cans until the mixture is evenly blended.
- Add the Jiffy Mix: Sprinkle in the Jiffy Corn Muffin Mix and gently stir until just combined—being careful not to overmix to maintain the best texture.
- Pour and Bake: Pour the batter into a greased 8×8-inch baking dish and spread it evenly. Bake in a preheated oven at 350°F (175°C) for 40–45 minutes, or until the top is golden brown and the center is set.
- Serve: Let the casserole rest for 5 minutes after baking to thicken, then scoop warm, creamy servings that balance tender corn chunks with a lightly crisped golden top.
Notes
- Do not overmix the batter to ensure the best texture.
- Let the casserole rest for 5 minutes after baking to let it thicken.
- For a golden top, bake uncovered for the last 5 minutes.
- Add shredded cheese or diced jalapeños for added flavor.
- This recipe can be doubled easily to serve a larger crowd.
- You can substitute Greek yogurt for sour cream for added protein.
- Mix all ingredients the day before, refrigerate covered, and bake with an additional 5 minutes added to the baking time.
Keywords: corn casserole, Jiffy corn muffin mix, easy side dish, holiday side, comfort food, baked corn pudding


