Dutch Oven Garlic and Herb Bread Recipe
Introduction
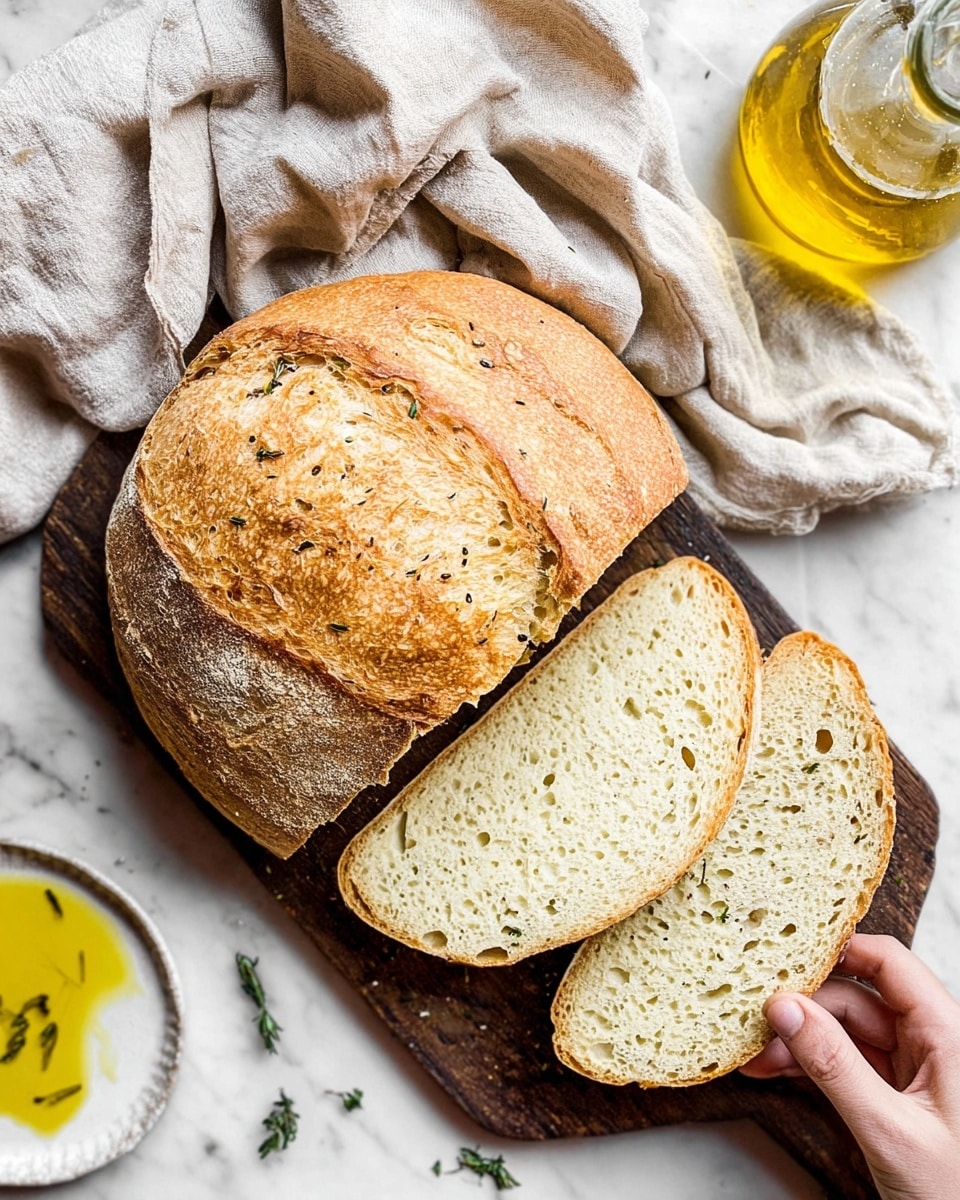
This Dutch Oven Garlic and Herb Bread is a flavorful, crusty loaf infused with fresh herbs, garlic, and Parmigiano-Reggiano cheese. It’s perfect for serving alongside soups, salads, or as a tasty snack. Baking in a Dutch oven creates a beautiful crust and tender crumb that’s hard to resist.
Ingredients
- 150 grams all purpose flour (11-11.7% protein)
- 350 grams bread flour (12.7% protein)
- 1 tablespoon granulated sugar
- 2 ¼ teaspoons instant or fast acting yeast
- 1 ½ teaspoons fine sea salt
- ¼ cup Parmigiano-Reggiano cheese (finely grated)
- 1 tablespoon fresh rosemary (finely chopped)
- 1 tablespoon fresh basil (finely chopped)
- 1 tablespoon fresh thyme (finely chopped)
- 1 tablespoon fresh oregano (finely chopped)
- 3 fresh garlic cloves (finely chopped)
- 360 grams warm water (105-110°F), more if needed
Instructions
- Step 1: In the bowl of a stand mixer, whisk together the bread flour, all-purpose flour, salt, grated Parmigiano-Reggiano cheese, chopped herbs, garlic, sugar, and yeast.
- Step 2: Pour in the warm water and gently mix with a wooden spoon until all the flour is incorporated and the dough is sticky. If the dough seems dry, add one tablespoon of water.
- Step 3: Attach the dough hook to the mixer and knead the dough on medium-high speed for 4-5 minutes. The dough should stick to the hook and pull away from the sides of the bowl.
- Step 4: Cover the bowl with a tea towel and let the dough rise at room temperature for 2-3 hours until doubled in size. Place it in a warm spot, like near a warm window or inside a cold oven with the light on.
- Step 5: (Optional) For a longer fermentation and tangier flavor, cover the bowl with plastic wrap and refrigerate overnight or for 3-5 days. The dough will rise and fall during chilling, which is normal.
- Step 6: Remove the dough from the fridge (if chilled) and let it sit at room temperature for about 10 minutes.
- Step 7: On a floured surface, gently shape the dough into a round by pulling one side inward and folding it onto itself. Rotate the dough clockwise, continuing to stretch and fold until it forms a rough round shape. Dust with flour as needed, pinch the seams, and flip the dough seam-side down.
- Step 8: Transfer the dough onto a floured piece of parchment paper using a bench scraper. Lower it carefully into a large bowl, cover with a tea towel, and let it rise in a draft-free area for 1 hour. The dough may not double, but it will puff slightly.
- Step 9: Preheat the oven to 475°F (240°C) and place your Dutch oven on the middle to lowest shelf to warm for about 20 minutes.
- Step 10: Score the dough down the middle using a sharp knife or bread lame.
- Step 11: Using oven mitts, carefully remove the hot Dutch oven and place it on a heat-proof surface. Lift the dough by the edges of the parchment paper and lower it into the Dutch oven. Cover with the lid.
- Step 12: Bake the bread covered for 35 minutes, then remove the lid and bake uncovered for an additional 10 minutes to develop a golden crust.
- Step 13: Remove the Dutch oven from the oven, lift the bread out by the parchment, and place it on a wire rack to cool completely before slicing.
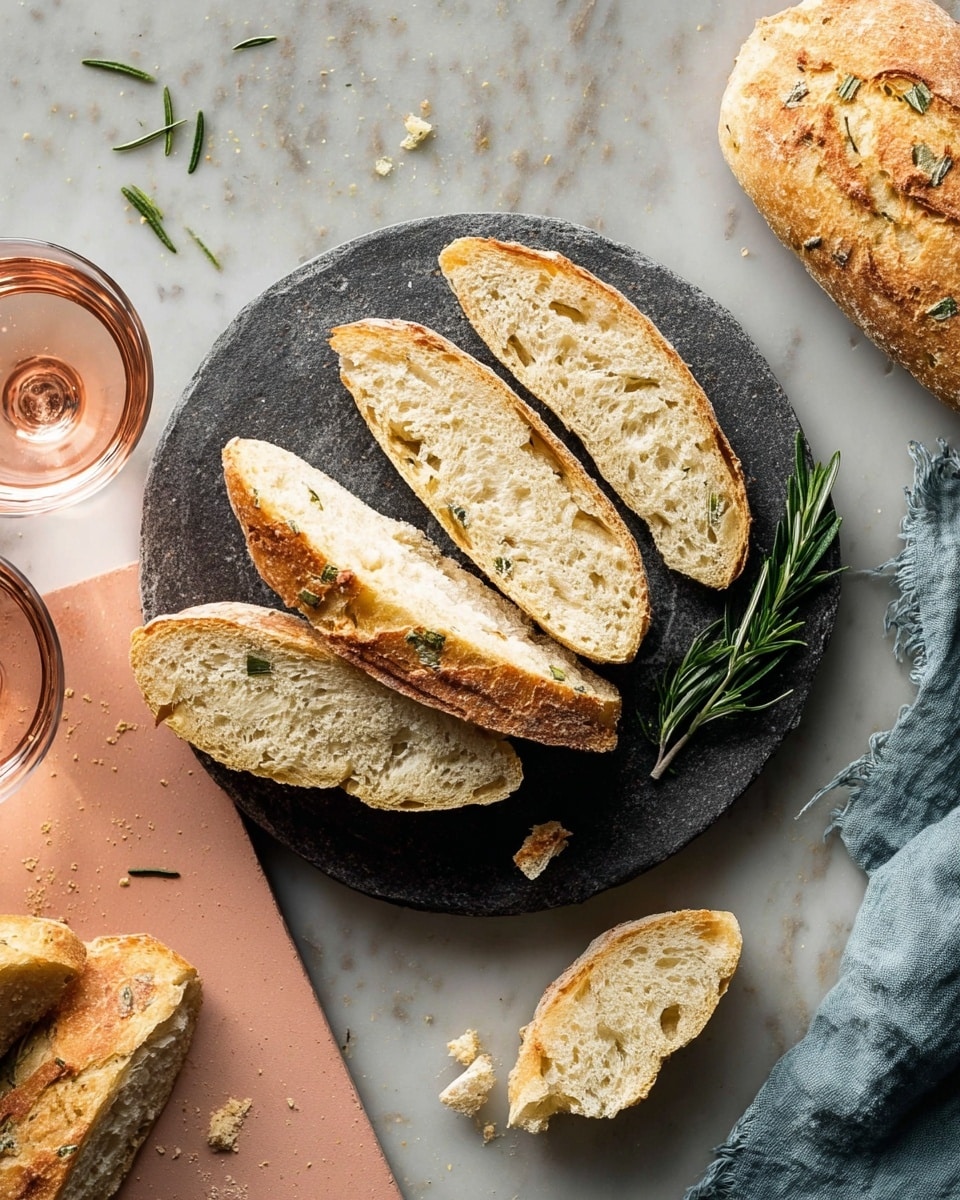
- Step 14: Slice and serve with dipping oil, cheeses, or fruit spreads as desired.
Tips & Variations
- For extra flavor, use a mix of fresh herbs you enjoy or add a pinch of chili flakes for a mild kick.
- If you don’t have a Dutch oven, use a heavy oven-safe pot with a tight-fitting lid.
- Letting the dough rest in the fridge for several days develops a tangy flavor similar to sourdough.
- Make sure to preheat the Dutch oven thoroughly to create steam and help achieve a crispy crust.
- Use a sharp serrated knife to score and slice the bread cleanly.
Storage
Store the bread wrapped in a clean kitchen towel or in a paper bag at room temperature for up to 3 days. Avoid airtight containers as they can soften the crust. To refresh the crust, warm the bread in a 350°F (175°C) oven for 5-10 minutes before serving. For longer storage, slice and freeze the bread in a sealed bag, then toast slices as needed.
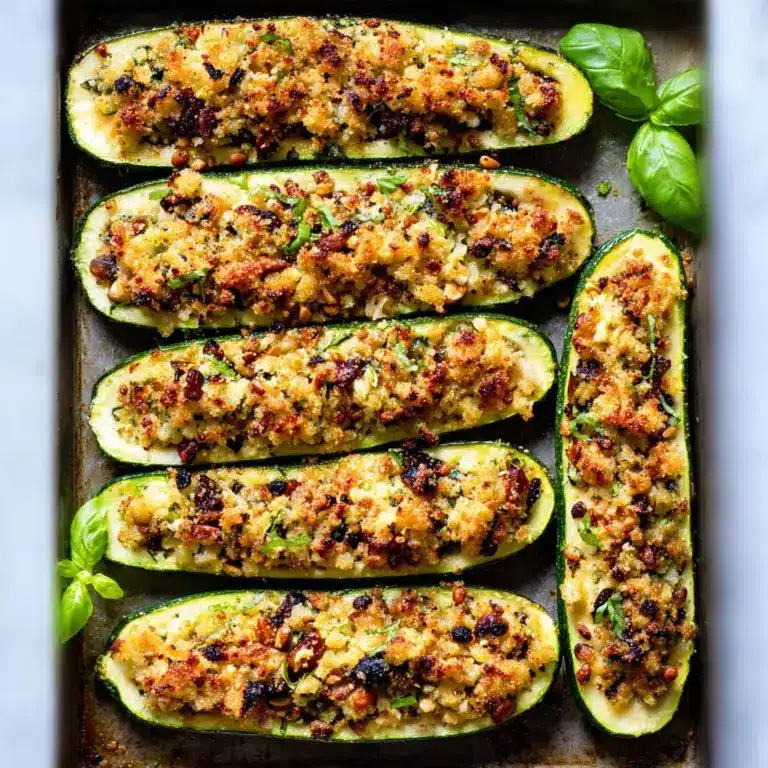
How to Serve
Serve this delicious recipe with your favorite sides.
FAQs
Can I use all-purpose flour instead of bread flour?
Yes, but the bread may have a slightly softer texture and less chewiness. Bread flour’s higher protein content helps develop gluten for a better rise and crust.
What if I don’t have fresh herbs?
You can substitute dried herbs, but use about one-third of the amount since dried herbs are more concentrated in flavor. Add them during mixing with the other dry ingredients.
PrintDutch Oven Garlic and Herb Bread Recipe
This Dutch Oven Garlic and Herb Bread is a fragrant, crusty loaf infused with fresh herbs, garlic, and Parmigiano-Reggiano cheese. Made using a combination of bread and all-purpose flour with an easy no-knead dough technique, it develops a perfect texture with a chewy crust and tender crumb. The bread is baked in a preheated Dutch oven for a professional bakery-quality finish right at home.
- Prep Time: 15 minutes
- Cook Time: 45 minutes
- Total Time: 3 hours 15 minutes (or up to 5 days if including cold fridge rest)
- Yield: 1 loaf (about 8–10 servings) 1x
- Category: Bread
- Method: Baking
- Cuisine: Italian
- Diet: Vegetarian
Ingredients
Dry Ingredients
- 150 grams all purpose flour (11-11.7% protein)
- 350 grams bread flour (12.7% protein)
- 1 tablespoon granulated sugar
- 2 ¼ teaspoons instant or fast acting yeast
- 1 ½ teaspoons fine sea salt
- ¼ cup Parmigiano-Reggiano cheese (finely grated)
Herbs and Garlic
- 1 tablespoon fresh rosemary (finely chopped)
- 1 tablespoon fresh basil (finely chopped)
- 1 tablespoon fresh thyme (finely chopped)
- 1 tablespoon fresh oregano (finely chopped)
- 3 fresh garlic cloves (finely chopped)
Liquids
- 360 grams warm water (105-110°F), more if needed
Instructions
- Make the Dough: In the bowl of a stand mixer, whisk together the bread flour, all purpose flour, salt, grated Parmigiano-Reggiano cheese, herbs, garlic, sugar, and yeast until evenly combined.
- Add Water and Mix: Pour in the warm water and gently stir with a wooden spoon until all the flour is incorporated, forming a sticky dough. Add a tablespoon more water if the dough feels dry.
- Knead the Dough: Attach the dough hook to the stand mixer and knead on medium-high speed for 4-5 minutes. The dough should stick to the hook and pull away from the sides of the bowl.
- First Warm Rise: Cover the bowl with a tea towel and leave it at room temperature in a warm spot for 2-3 hours until it doubles in size.
- Cold Fridge Rest (Optional): For enhanced flavor and tanginess resembling sourdough, cover the bowl with plastic wrap and refrigerate overnight (12 hours) or up to 3-5 days. Dough will rise and fall during this time, which is normal.
- Shape the Dough: Remove dough from fridge if chilled, let it rest at room temperature for about 10 minutes. Scrape dough onto a floured surface. With floured hands, gently stretch and fold the dough inward while rotating clockwise to form a rough round shape. Pinch seams and flip dough over.
- Proof the Dough: Transfer the shaped dough seam side down onto floured parchment paper and place it into a large bowl. Cover with a tea towel and let it rise in a draft-free place for 1 hour. Dough may puff slightly but not double.
- Alternative No Fridge Option: If skipping fridge rest, shape dough as above immediately after first rise and proof for 1 hour at room temperature in a covered bowl.
- Preheat Dutch Oven: Place your Dutch oven in the oven and preheat to 475°F (240°C) for 20 minutes.
- Score the Dough: Using a sharp knife or bread lame, score a slash down the middle of the dough.
- Bake the Bread: Using oven mitts, carefully remove hot Dutch oven and transfer the dough on parchment paper into it. Cover with the lid and place back into oven. Bake covered for 35 minutes.
- Finish Baking Uncovered: Remove the lid and bake an additional 10 minutes uncovered to develop a golden, crispy crust.
- Cool the Bread: Remove Dutch oven from oven and carefully lift the loaf out using the parchment paper. Place the bread on a wire cooling rack and let cool completely before slicing.
- Serve: Slice and serve with dipping oil, cheeses, or fruit spreads for a delightful accompaniment.
Notes
- Adding a cold fridge rest enhances flavor and mimics sourdough tanginess but is optional.
- Ensure dough is sticky but manageable; adjust water quantity as needed.
- Preheating the Dutch oven is crucial for crust development.
- Use fresh herbs for the best aromatic flavor.
- Allow bread to cool completely before slicing to preserve crumb structure.
Keywords: Dutch oven bread, garlic herb bread, homemade bread, no-knead bread, crusty bread, artisan bread, herb bread loaf


