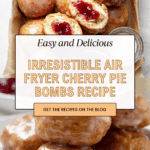
Cherry Pie Bombs Recipe
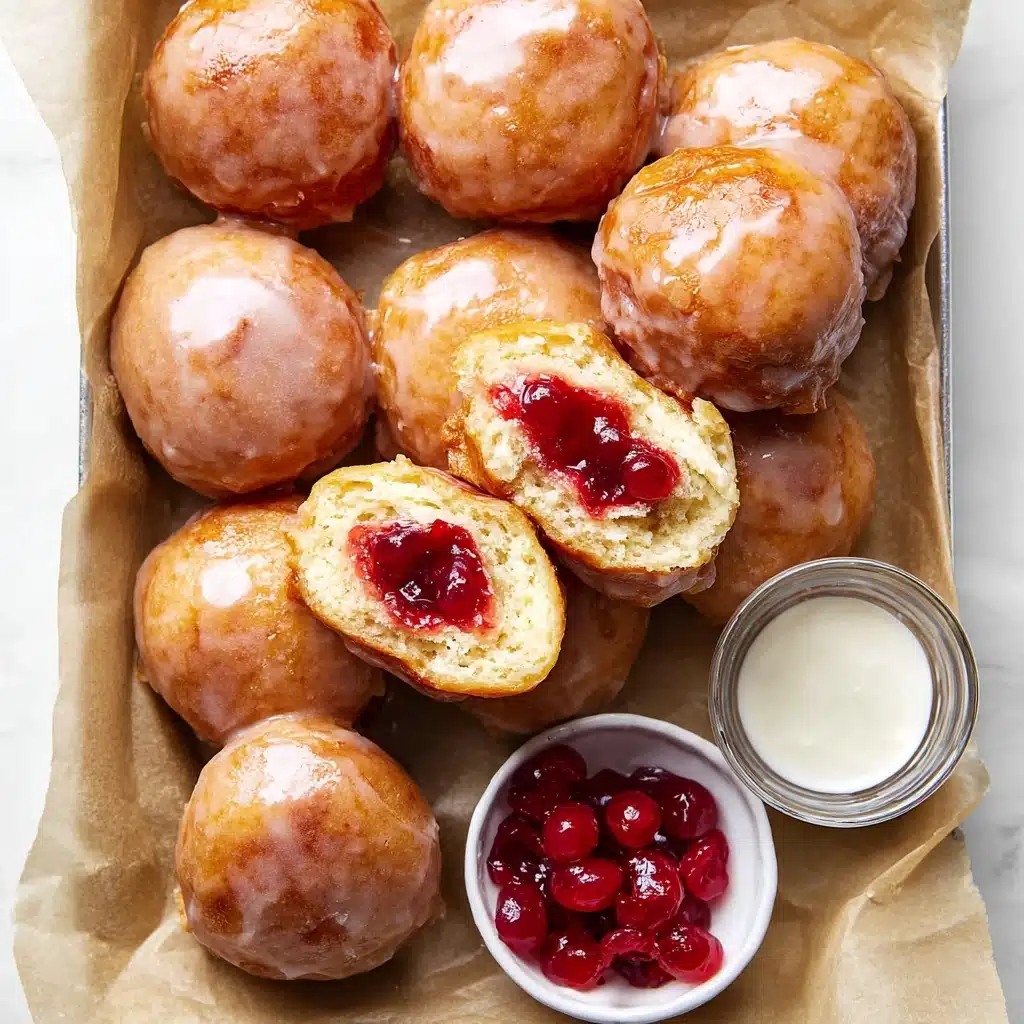
Few desserts can spark joy like Cherry Pie Bombs: tiny parcels of buttery biscuit dough packed with luscious cherry filling, kissed with a sweet glaze, and cooked to golden perfection in your air fryer. Whether you’re new to air fryer baking or a seasoned dessert lover, these bite-sized treats are a celebration waiting to happen! Every step is infused with the spirit of homemade pie, but with the sheer fun (and speed) of a weeknight dessert. You’ll want to share them with everyone—or maybe stash a few just for yourself.
Ingredients You’ll Need
There’s so much to love about how simple, yet brilliantly balanced, these ingredients are. Each one plays a starring role in turning Cherry Pie Bombs into the irresistible treats you know will disappear quickly from any table. Here’s what you’ll need, along with quick tips to set you up for sweet success:
- Pillsbury Grand Biscuits (1 can, 8-count, not flaky layers): These offer that perfect, soft and pillowy base for each pie bomb and are easy to work with for even beginners.
- Cherry Pie Filling (1 cup): The heart of every bomb, bursting with bright fruitiness and a vibrant ruby hue that makes each bite sing.
- Unsalted Butter (½ cup, melted): Brushed on top and bottom, the butter ensures golden, tender crusts with that unmistakable bakery-style sheen.
- Confectioners’ Sugar (2 cups): Used in the glaze, this creates a silky-sweet finish that clings to every curve of the bombs.
- Whole Milk (3-4 tablespoons, room temperature): The secret to a perfectly pourable glaze—start with less, then add drop by drop to reach your dream consistency.
How to Make Cherry Pie Bombs
Step 1: Prep the Biscuit Dough
Start by popping open your can of biscuits—it’s always a satisfying little kitchen thrill! Split each biscuit in half horizontally, giving you sixteen pieces. Gently press each half into a 4-inch circle with your fingers or the palm of your hand. This super-simple step makes sure every Cherry Pie Bomb has just the right dough-to-filling ratio.
Step 2: Add the Cherry Filling
Spoon about 1 tablespoon of cherry pie filling into the center of each dough circle. You want lots of fruit but not so much it’ll be hard to seal—the sweet spot is just enough to get a mouthful of cherries in every bite. That glossy, jewel-like filling is what puts the “pie” in Cherry Pie Bombs!
Step 3: Shape and Seal
Now for a little kitchen magic: pull the sides of the dough up and around the filling and pinch tightly to seal. Roll them gently between your hands to form tidy balls, smoothing out any seams. Try to keep each bomb an even thickness, so they cook up perfectly all around. Don’t worry if one isn’t perfectly round—homemade charm goes a long way!
Step 4: Butter Up
Brush the tops and bottoms of all the assembled bombs with melted butter. This isn’t just for golden color (though that’s lovely); it also creates that tender, bakery-worthy crust you’ll crave! The more even your buttering, the better the Cherry Pie Bombs will look and taste.
Step 5: Air Fry to Perfection
Spray your air fryer basket with nonstick spray to keep everything easy and mess-free. Arrange the bombs in the basket, giving each a little elbow room (about 2 inches apart). Set the air fryer to 330°F and cook for 7–8 minutes, or until your Cherry Pie Bombs are golden and puffed with irresistible aroma. Cook in batches as needed so they brown and bake evenly.
Step 6: Whip Up the Glaze
While your pie bombs are cooling just slightly, mix up the glaze. In a medium bowl, whisk together confectioners’ sugar and 3 tablespoons of milk. You’re looking for a smooth, pourable consistency—if it’s too thick, add a touch more milk. The glaze is the crowning touch for these Cherry Pie Bombs, making them sweet and visually stunning.
Step 7: Dip and Set
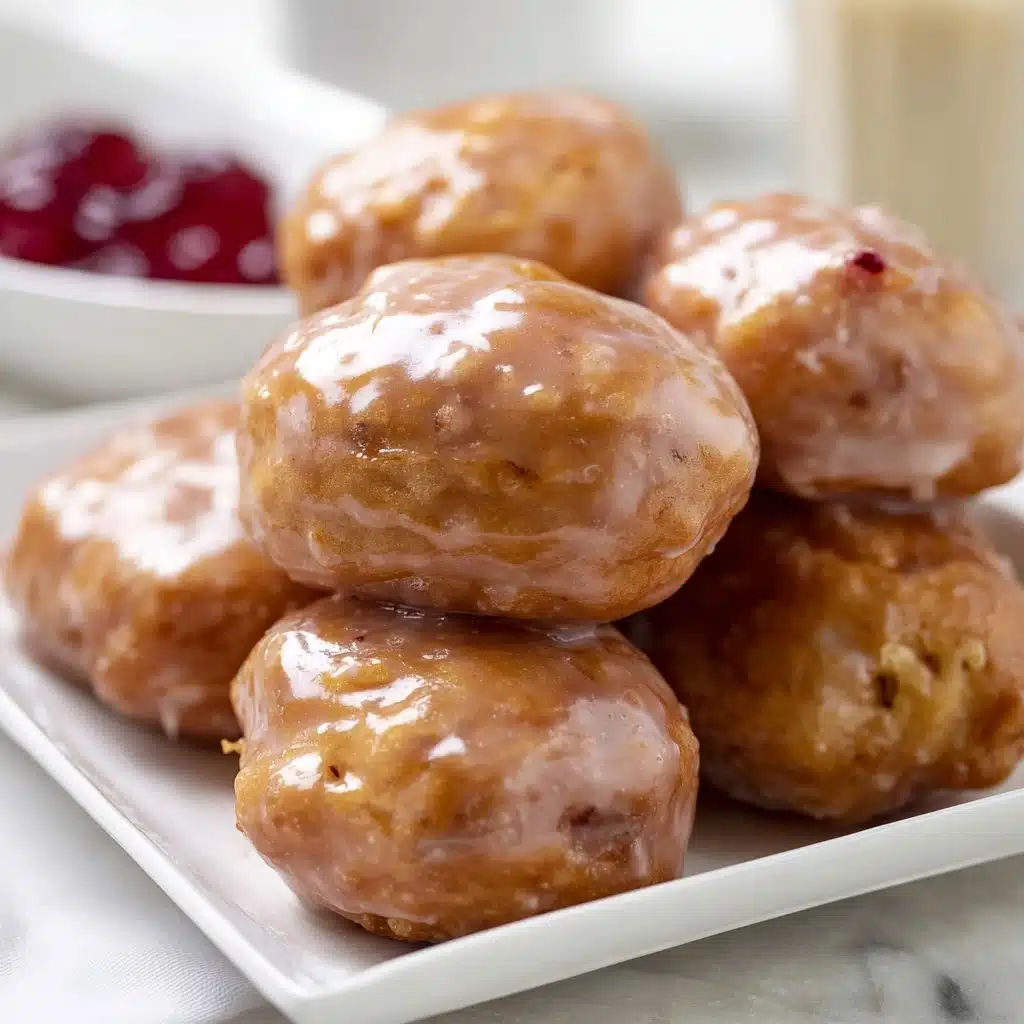
Dip or roll each warm pie bomb in the glaze, then move them to a wire rack set over a baking sheet. The excess glaze can drip away, leaving a gorgeous, glossy finish. Let them set up for a few minutes—if you can wait!—before digging in.
How to Serve Cherry Pie Bombs
Garnishes
A little extra flair never hurt! Dust your Cherry Pie Bombs with a light snowfall of extra confectioners’ sugar or sprinkle with a handful of sparkling sanding sugar. For a truly playful finish, you could even drizzle a little melted white chocolate back and forth across the tops.
Side Dishes
Pair these sweet bombs with something cool and creamy, like a scoop of vanilla bean ice cream or a dollop of homemade whipped cream. If you’re serving for brunch or a dessert table, they also play beautifully alongside fresh berries and a big pot of coffee.
Creative Ways to Present
Try stacking Cherry Pie Bombs on a cake stand for a fun centerpiece, or pile them into a bowl lined with wax paper for a rustic, grab-and-go vibe. Wrapping a few in a parchment bundle with ribbon makes a darling edible gift that’ll earn you instant legend status.
Make Ahead and Storage
Storing Leftovers
Have leftovers? Store Cherry Pie Bombs in an airtight container at room temperature for up to two days. If you need to keep them longer, the refrigerator will preserve their freshness for an extra couple of days without drying them out thanks to that buttery crust.
Freezing
To freeze, let your Cherry Pie Bombs cool completely and wrap them individually in plastic wrap, then pop them in a freezer-safe zip bag. They’ll hold up beautifully for about two months—perfect for satisfying a pie craving at a moment’s notice.
Reheating
You can reheat your Cherry Pie Bombs straight from the fridge or freezer. Pop them into the air fryer for 2–3 minutes at 325°F or warm gently in the microwave, about 15 seconds at a time, for pillowy, fresh pie bombs in no time.
FAQs
Can I use a different kind of pie filling?
Absolutely! While cherry gives these bombs their signature taste, you can swap in blueberry, apple, or even lemon pie filling for a twist—just be mindful of any extra liquid, as it can make sealing a bit trickier.
Do I have to use an air fryer?
No air fryer? No problem! You can bake Cherry Pie Bombs on a parchment-lined baking sheet in a preheated 350°F oven for about 13–15 minutes until golden brown. The texture is just slightly different but still delicious.
Why isn’t my glaze sticking?
If the bombs cool completely before glazing, the surface may not be tacky enough for the glaze to stick. Try glazing while they’re just slightly warm, and don’t be afraid to double-dip for more coverage!
How do I keep the filling from spilling out?
Be sure to keep the dough an even thickness when shaping, and don’t overfill each circle. Pinching the seams tightly closed helps lock the fruit inside, leading to neat and tidy Cherry Pie Bombs.
Can I make these ahead for a party?
Definitely! Cherry Pie Bombs are ideal for prepping ahead—just store the finished and glazed bombs in a container and add any extra garnishes right before serving to keep them looking fresh.
Final Thoughts
If you’re looking for a showstopping dessert that’s easy, festive, and consistently crowd-pleasing, give these Cherry Pie Bombs a spot in your baking rotation. They’re bursting with flavor, fun to make, and totally irresistible. Don’t be surprised if everyone asks you for the recipe!
PrintCherry Pie Bombs Recipe

Delicious cherry pie bombs made with Pillsbury Grand biscuits, filled with cherry pie filling, and air-fried to golden perfection. These sweet treats are then glazed for a perfect finishing touch.
- Prep Time: 15 minutes
- Cook Time: 8 minutes
- Total Time: 23 minutes
- Yield: 16 pie bombs 1x
- Category: Dessert
- Method: Air Fry
- Cuisine: American
- Diet: Vegetarian
Ingredients
Pie Bombs
- 1 can (8-count) Pillsbury Grand biscuits, not flaky layers
- 1 cup (255 g) cherry pie filling
- ½ cup (1 stick / 113 g) unsalted butter, melted
Glaze
- 2 cups (250 g) confectioners’ sugar
- 3–4 tablespoons whole milk, room temperature
Instructions
- Prepare Pie Bombs: Remove biscuits, separate into layers, press into circles. Spoon cherry filling, fold, seal, and shape into balls.
- Brush with Butter: Coat bombs with melted butter.
- Air Fry: Place in air fryer, cook until golden brown.
- Make Glaze: Mix confectioners’ sugar and milk until smooth.
- Glaze Bombs: Dip or roll bombs in glaze, let firm up on wire rack.
- Serve: Enjoy warm or at room temperature.
Notes
- Ensure biscuit dough is evenly shaped for consistent cooking.
- Adjust glaze consistency by adding more milk if needed.
Nutrition
- Serving Size: 1 pie bomb
- Calories: 230 kcal
- Sugar: 18g
- Sodium: 180mg
- Fat: 10g
- Saturated Fat: 6g
- Unsaturated Fat: 3g
- Trans Fat: 0g
- Carbohydrates: 33g
- Fiber: 1g
- Protein: 2g
- Cholesterol: 20mg
Keywords: Cherry Pie Bombs, Air Fryer Dessert, Easy Cherry Dessert
